How raised floor systems work
Adjustable height pedestals are now the most common way to build tile decks on rooftops, balconies, and podiums. But there's one risk most installers overlook.
PEDESTAL AND RAISED FLOOR TILES
John Gill
9/3/20258 min read
What is a raised flooring system?
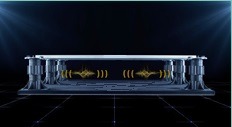
A raised flooring system is a floor or deck constructed on a platform above the substrate. Sometimes called a floating floor, these systems are not fixed to the substrate, instead, they rest on adjustable height pedestals that can be fine-tuned to create a perfectly level surface regardless of the slope or condition of what's underneath.
Most raised floor systems are installed over a waterproof membrane. The pedestals create a void between the tile and the membrane, which allows for drainage, ventilation, and easy access to services running underneath.
Tiles, timber, composite boards, artificial grass, and bamboo can all be used as the finish material. But tiles, particularly 600x600 porcelain, have become the dominant choice on rooftops, balconies, and commercial podium decks because of their durability, weight, and aesthetic.
Most of these installations are in areas with a low finish height that do not allow for the use of timber. The increase in quality of adjustable pedestals and aluminium substructure systems allow floating floors to be constructed over waterproof membranes and provide opportunities that were previously unavailable. When combined with the improvement in composites, artificial grass and structural tiles, long lasting, useable areas become viable and cost effective.
Why Raised Floor Systems Have Taken Over
Raised flooring systems have grown rapidly in popularity because they solve problems that traditional bonded installations simply can't:
Cost effective, no sand and cement bed, lower labour costs, faster installation
Fully adjustable, pedestal height can be set to compensate for any slope or surface irregularity
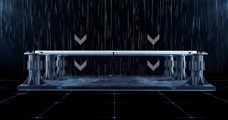
Drains fast, the gap between tiles lets water discharge directly to the substrate below
No membrane penetrations, ideal over waterproof membranes where drilling would compromise waterproofing
Easy access, tiles can be lifted at any time to inspect the membrane, clear debris, or maintain services
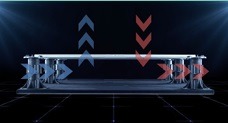
Absorbs structural movement, the floor is independent of the structure, so expansion and contraction don't crack tiles
Lightweight, no cement bed means dramatically less dead load on the structure
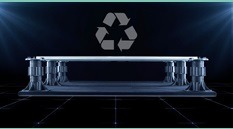
Environmentally friendly, no chemicals, fully recyclable at end of life
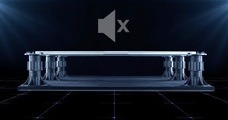
Reduces noise, anti-slip rubber on pedestal heads reduces sound impact by up to 25dB
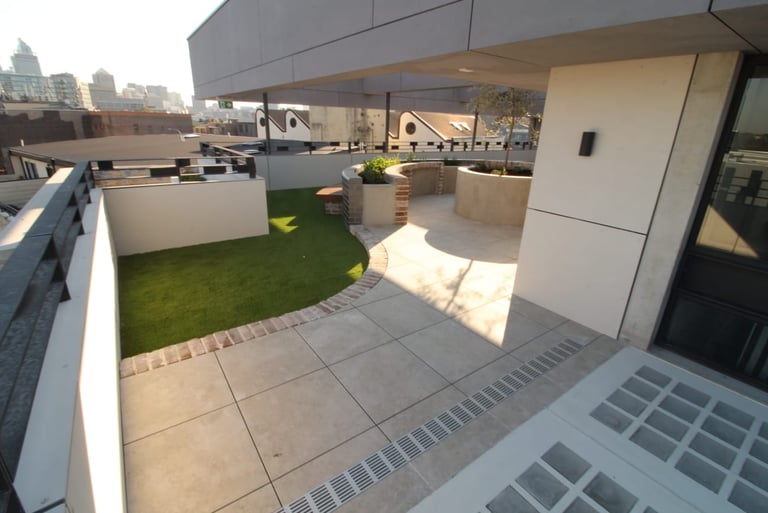
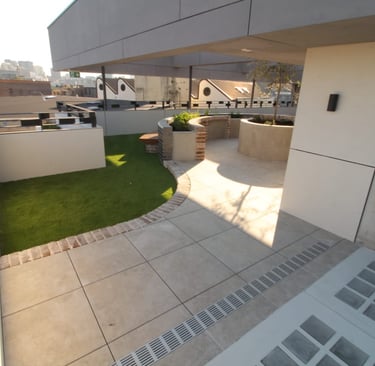
Areas that were previously unusable, flat rooftops, carpark decks, planter terraces, are now viable, cost-effective outdoor spaces because of this system.
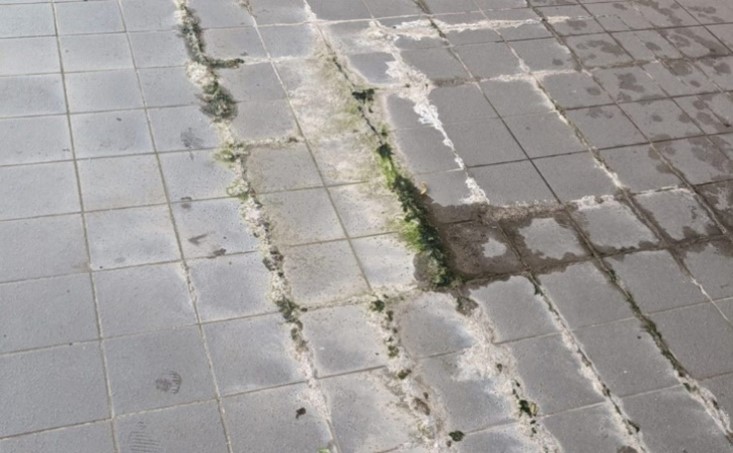
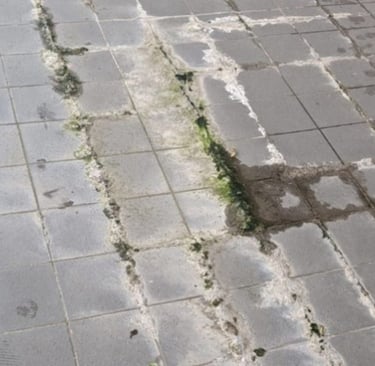
Areas with drainage issues
No more ugly staining
There are two ways to build a raised tile floor. Both use adjustable pedestals to achieve height, the difference is what sits between the pedestals and the tiles.
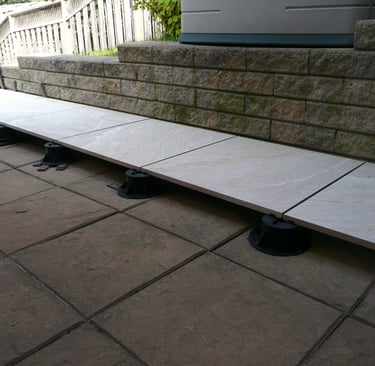
System 1, Pedestals Only
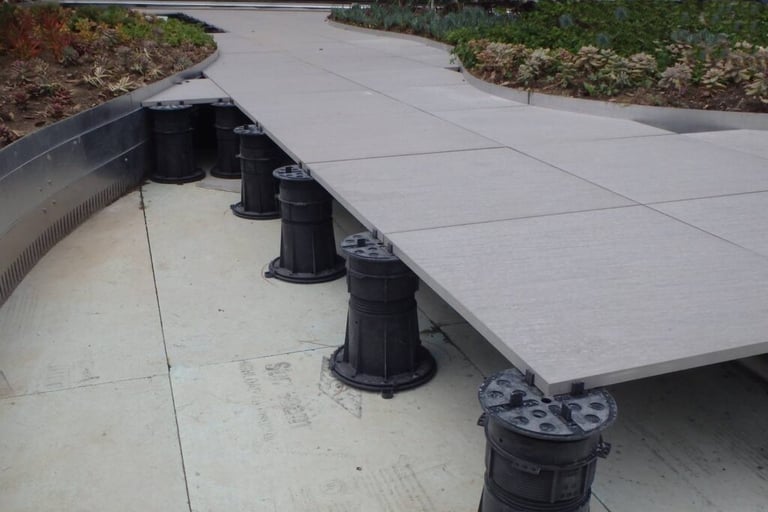
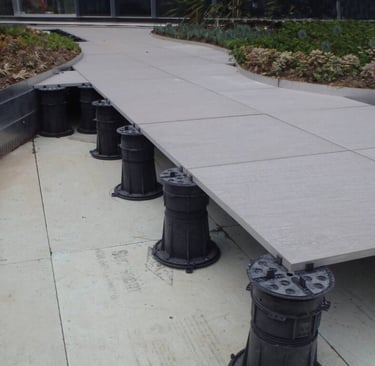
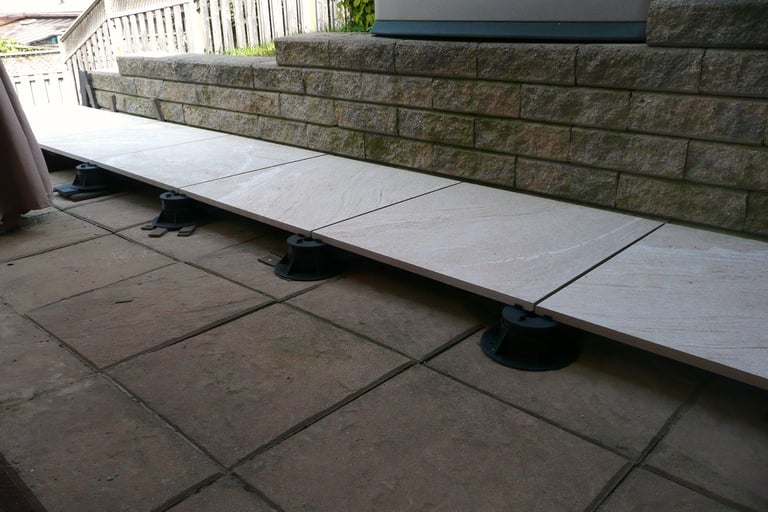
Pedestals are placed on the substrate and adjusted to create a level finish height across their tops. Tiles or pavers are then placed directly onto the pedestal heads, supported at each corner. For larger tiles, an additional pedestal in the centre provides extra support.
Best for: residential balconies, rooftops, low-level patios, cost-sensitive projects
Strengths: cheapest, fastest, no framing required, easy tile replacement
Limitations: more pedestals needed at height, some potential for minor tile movement over time
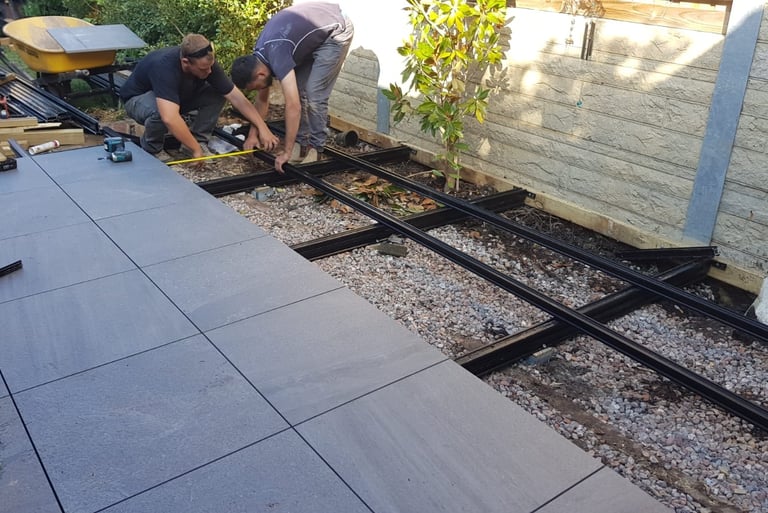
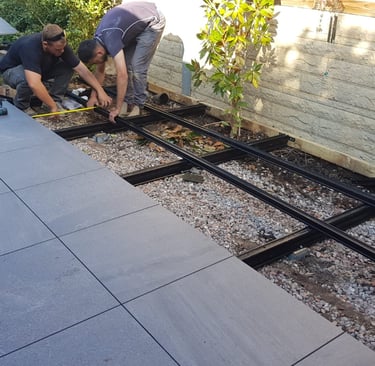
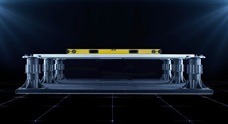
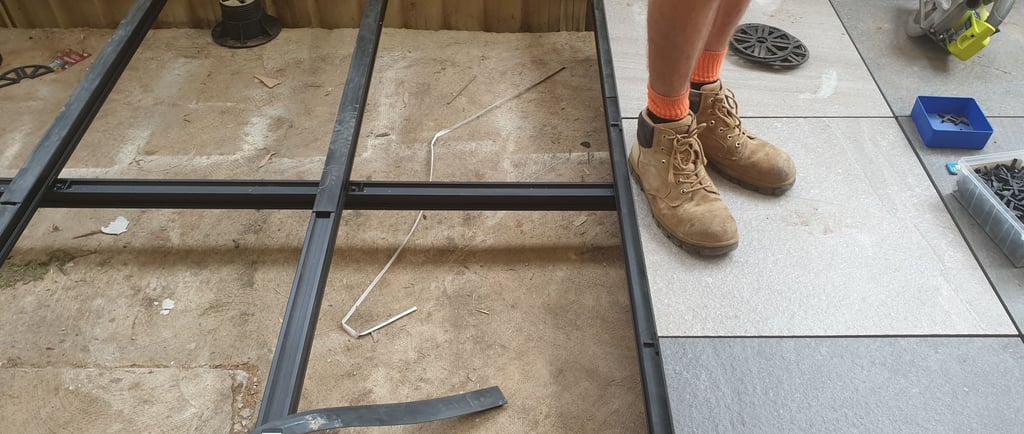
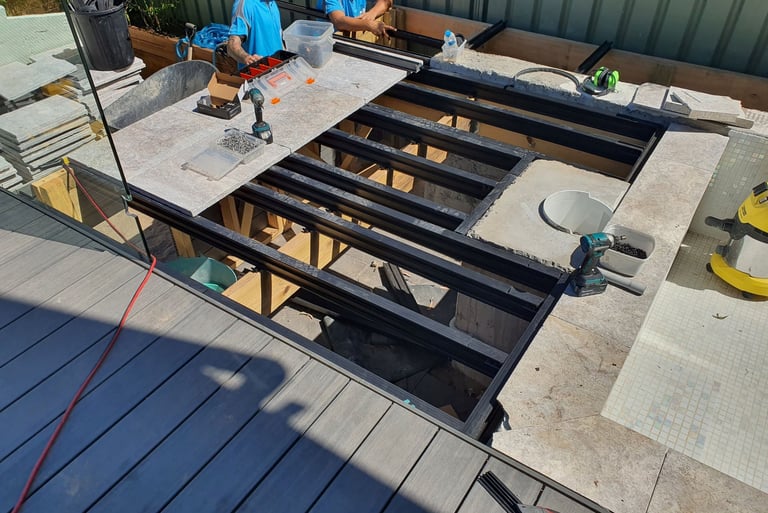
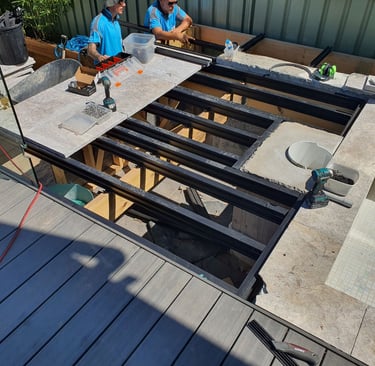
System 2, Pedestal + Substructure
This system adds a framework of aluminium joists or bearers supported by pedestals, similar to how a traditional timber deck is built, but floating above the substrate. Tiles sit on the joists and are held in place by plastic or stainless clips. The tops of the joists are rubber-lined to prevent slip and reduce vibration.
Best for: tall decks (above ~300–400mm), uneven substrates, high-traffic commercial areas, spanning over services or voids
Strengths: long-term stability, no tile rocking, easier spanning, better for large tiles
Limitations: higher material and labour cost, longer installation time
When to upgrade to a substructure:
Deck height exceeds 300–400mm (more pedestals = less cost advantage)
Substrate is uneven, sloped significantly, or has voids/services beneath
High foot traffic or public access (elderly, disabled, commercial use)
Large tile format where corner-only support creates too much span
Both systems allow tiles to be lifted for under-floor access, this is one of the biggest practical advantages over bonded installation, especially for inspecting waterproof membranes and maintaining HVAC, electrical, and plumbing services.
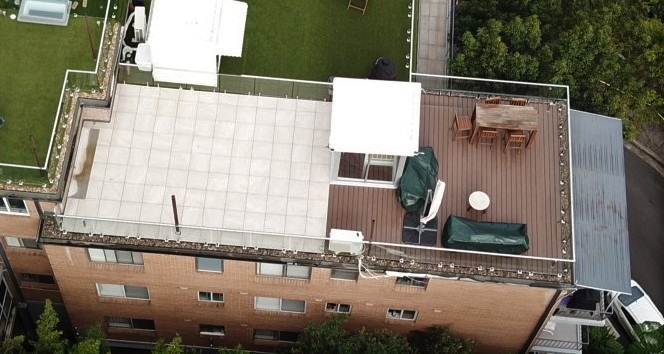
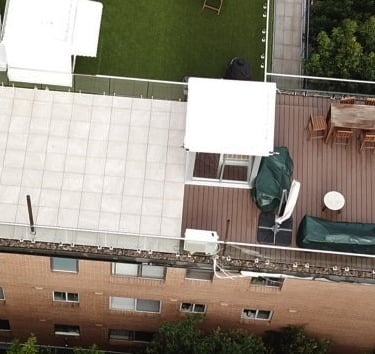
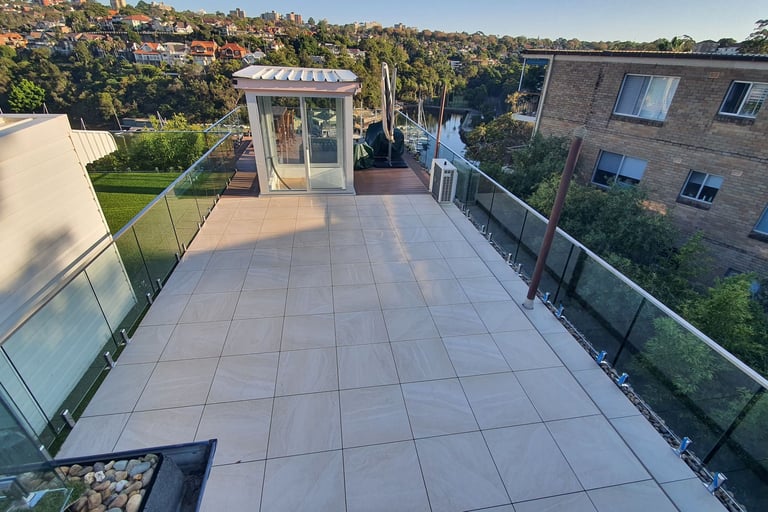
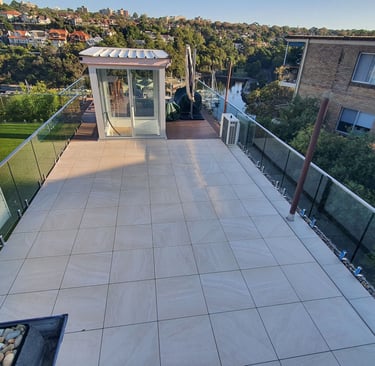
Rooftop Terraces
The Two Systems:
Pedestals Only vs. Pedestal + Substructure
What Goes Under the Floor?
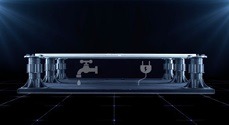
The void between the tile and the substrate is a working space, not dead air. On most commercial and residential projects it contains:
Waterproof membrane, protected from UV and foot traffic by the tile layer above
Drainage channels, substrate is sloped beneath the tiles so water drains away
HVAC ducting and electrical conduit, both systems allow concealment and easy access
Plumbing services, particularly relevant on podium decks and rooftop terraces
This "accessible void" is one of the key reasons architects and developers choose raised tile systems on complex commercial projects. Maintenance and inspection are straightforward, lift a tile, do the work, replace it.
System 2, Pedestal + Substructure
This system adds a framework of aluminium joists or bearers supported by pedestals, similar to how a traditional timber deck is built, but floating above the substrate. Tiles sit on the joists and are held in place by plastic or stainless clips. The tops of the joists are rubber-lined to prevent slip and reduce vibration.
Best for: tall decks (above ~300–400mm), uneven substrates, high-traffic commercial areas, spanning over services or voids
Strengths: long-term stability, no tile rocking, easier spanning, better for large tiles
Limitations: higher material and labour cost, longer installation time
When to upgrade to a substructure: - See my separate blog here
Deck height exceeds 300–400mm (more pedestals = less cost advantage)
Substrate is uneven, sloped significantly, or has voids/services beneath
High foot traffic or public access (elderly, disabled, commercial use)
Large tile format where corner-only support creates too much span
Both systems allow tiles to be lifted for under-floor access, this is one of the biggest practical advantages over bonded installation, especially for inspecting waterproof membranes and maintaining HVAC, electrical, and plumbing services.
What Goes Under the Floor?
The void between the tile and the substrate is a working space, not dead air. On most commercial and residential projects it contains:
Waterproof membrane, protected from UV and foot traffic by the tile layer above
Drainage channels, substrate is sloped beneath the tiles so water drains away
HVAC ducting and electrical conduit, both systems allow concealment and easy access
Plumbing services, particularly relevant on podium decks and rooftop terraces
This "accessible void" is one of the key reasons architects and developers choose raised tile systems on complex commercial projects. Maintenance and inspection are straightforward, lift a tile, do the work, replace it.
The Safety Risk Most Installers Overlook
Here's where raised tile systems have a problem that the industry hasn't fully addressed.
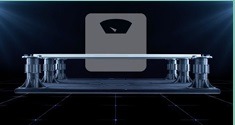
When a tile sits on pedestals, it's supported only at its corners, or corners plus centre. Unlike a bonded tile installation where the full underside is adhered to a substrate, a pedestal-mounted tile spans a gap. That creates conditions very different to how tiles are normally loaded:
Point loading, all stress concentrates at the pedestal contact points
Bending and flex, the tile bends under load across the unsupported span
Impact vulnerability, a dropped object, pebble, or heavy foot strike on the centre of the tile applies stress where there's no support beneath
Wind uplift, on exposed rooftops and balconies, negative wind pressure can lift unrestrained tiles
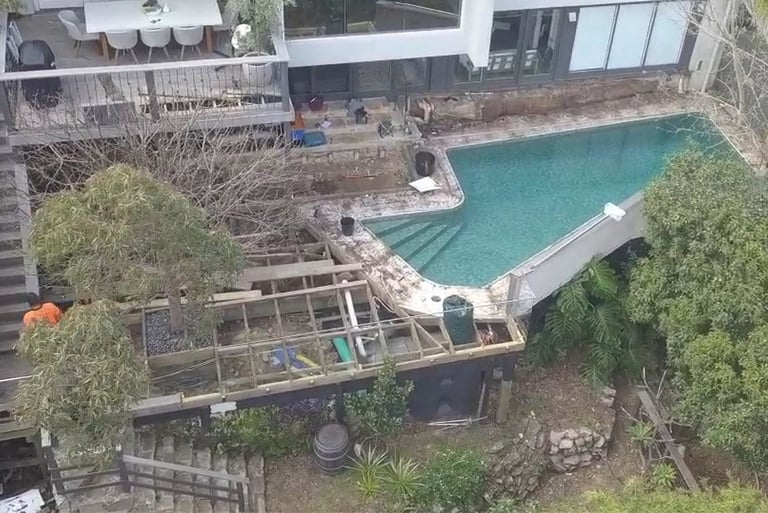
The result: tiles on pedestals can crack or fail suddenly and without warning. On a deck that sits 1–2 metres above a membrane or structure below, tile failure isn't just a replacement cost, it's a safety incident. Breakthrough injuries are a real and documented risk.
There are currently no mandatory Australian standards for pedestal tile safety performance. Tiles are often selected on aesthetics and price, without testing for the loads they'll experience in service.
What Can Be Done About It
The solution isn't to avoid tile systems, it's to reinforce the tiles themselves.
SafePave is a bonded structural backing system designed specifically for this problem. It bonds directly to the underside of each tile before installation, creating a composite panel that distributes load, contains cracks, and eliminates breakthrough risk.
Three systems are available depending on the application:
SPRT (Reinforcement Tape), retrofit safety upgrade for existing installations. Peel-and-bond fibreglass tape. No FFL change, no pedestal adjustment.
SSS (Structural Support), for new builds. Bonds a GFRP composite board to the tile, increasing bending stiffness 2–3x and load capacity 2–4x.
SSS-E (Structural Support Elite), for high-rise, rooftop, and wind-exposed environments. Delivers 5–8x bending stiffness, wind uplift resistance, acoustic and thermal insulation.
SafePave works with both pedestal-only and substructure systems. It doesn't change the pedestal layout, the finished floor level, or the installation method, it just makes the tiles safer.
Advantages of tiling on pedestals or raised substructure

Thermal Insulation


Movement absorption - No cracks
Lower weight compared to traditional tiling
Easily accessible services


Allows for substrate level changes yet provides a level surface
Acoustic Insulation
Tiles and pedestals are Reusable and recyclable
No grout between tiles - Creates excellent drainage.
Pedestals only:
Place pedestals on the substrate at the correct spacing for your tile size
Adjust pedestal height to achieve a level finish, most pedestals have a threaded spindle for fine adjustment
If using SafePave, apply reinforcement to the underside of tiles before installation
Lower tiles onto the pedestal heads, no adhesive required
Use pedestal head spacer tabs to maintain consistent joint width
With substructure:
Lay out and adjust pedestals to the correct height
Install aluminium joists or bearers across the pedestal heads, rubber-topped for slip resistance
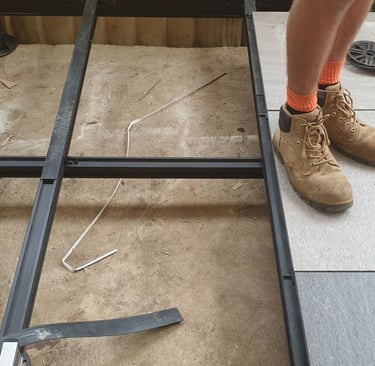
Install tiles onto the joist framework, securing with stainless or plastic tile clips
Use a T1 bit to lock and release clips when individual tiles need to be replaced
Either way, the system can be installed quickly with minimal site preparation, no wet trades, no curing time, no mess.
Spanning larger distance
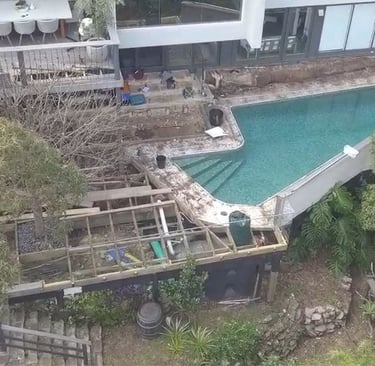
High above ground level - before
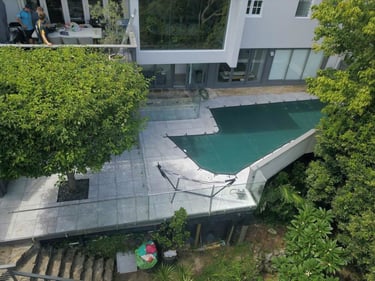
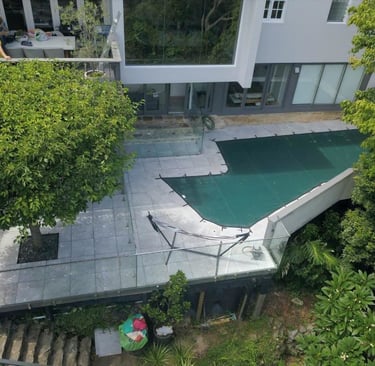
High above ground level - After
How It's Done, Installation Overview
Pedestals Only Pedestal + Substructure
Best for Residential, low-level, cost-sensitive Commercial, tall decks, high-traffic
Installation Fastest Moderate
Cost Lowest Higher
Tile stability Good Excellent
Spanning voids/services Limited Yes
Tile safety reinforcement Add SafePave SPRT, SSS or SSS-E Add SafePave SPRT, SSS or SSS-E
Pedestals alone are the right call for most residential and low-level projects. A substructure makes sense once you need height, stability, or commercial durability. And regardless of which system you use, SafePave makes the tiles themselves stronger and safer, addressing the one weakness these systems have always had.
Ready to Specify SafePave for Your Next Project?
SafePave systems are available across Australia and include full technical documentation, test data, and specification support.
View systems and request specification support →
Or contact us directly:
📞 0425 288 812
Related reading:
Sales and Showroom
Clever Building Products
64 Nuwarra road,
Moorebank, NSW, 2170
0425 288 812
info@safepave.com.au
By Appointment only
Products
Resources
Legal
SafePave Tools and Accessories
Suppliers