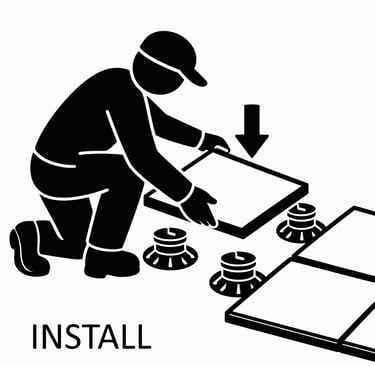
SafePave® Installation
"SafePave® Reinforcement Tape (SPRT)"
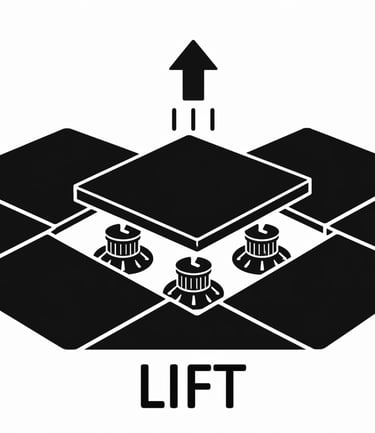
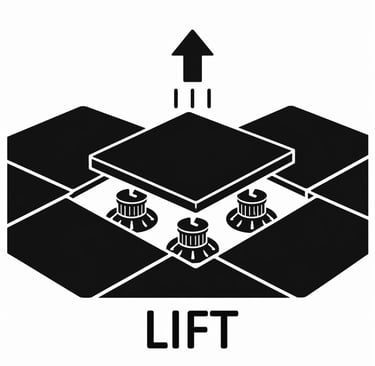
Lift tile from installed location
Place on a flat surface with underside facing up
Clean Tile
Clean and dry the underside of the tile using the SafePave® cleaning fluid and a microfibre cloth. Ensure the tile has no dust or moisture etc. that may impact the adhesion of the tape. If using alternative cleaning liquids, ensure no residue is left. Test on a small section first. The SafePave® cleaning fluid has been tested with the system and is designed to dry quickly and leave no residue.
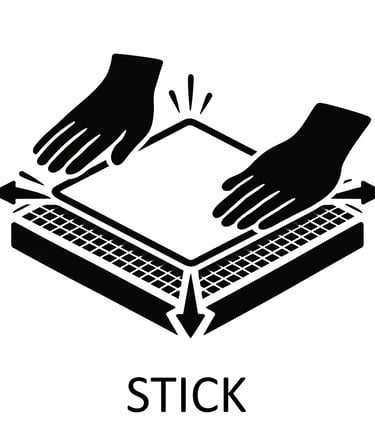
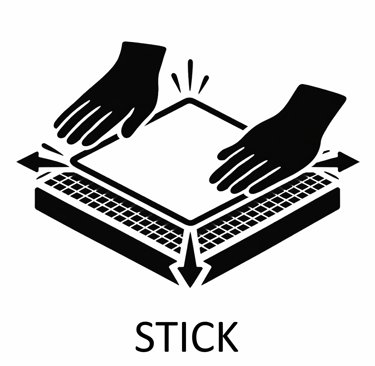
Peel the protective layer from the SPRT and adhere to one edge of the tile. Unroll the tape over the tile, applying pressure as you go.
Apply pressure to the tape using a silicone roller.
Ensure no air bubbles. (prick small holes as necessary) to ensure full adhesion.
Trim any overhanging material if necessary. (utility knife)
Remove the tile and either install it or stack it for future use. If stacking, stack with the SPRT on the underside so the weight of the tile assists bonding.
"SafePave®- Reinforcement (SPRT)" is a specially designed reinforcing sheet that is applied to the whole tile via a specially designed pressure sensitive tape. SafePave®- SPRT is available in rolls so it can be used on different sized tiles
It is essential the tile is clean, dry and dust free prior to application of the tape. The tape must be firmly rolled to ensure 100% adhesion.
Lay the tile upside down (tile face to bottom) on a flat surface.
Clean and dry the underside of the tile using the SafePave® cleaning fluid and a microfibre cloth. Ensure the tile is clean, dry and dust free so that adhesion of the board is not compromised.
Test a small section first with the test piece provided. If necessary, the underside of the tile may require sealing to ensure full adhesion.
Peel the protective layer from the rear of the board and place it on the tile lining up each edge.
Apply even pressure to the board for 15 seconds.
Remove the tile and either install it or stack it for future use. If stacking, stack with the tile surface facing up.
SafePave®- SSS is a 2mm rigid board with a patented pressure sensitive tape applied to one side. The board and tape create a composite that has a combination of rigid and flexible properties that helps absorb impact at the same time as providing the additional support, natural stone needs.
It is essential the tile is clean, dry and dust free prior to application of the board. Test a small section first as some tiles may require sealing to ensure adhesion.
"SafePave® Structural Support (SSS)"
Lay the tile upside down (tile face to bottom) on a flat surface.
Clean and dry the underside of the tile using the SafePave® cleaning fluid and a microfibre cloth. Ensure the tile is clean, dry and dust free so that adhesion of the board is not compromised.
Test a small section first with the test piece provided. If necessary, the underside of the tile may require sealing to ensure full adhesion.
Peel the protective layer from the rear of the board and place it on the tile lining up each edge.
Apply even pressure to the board for 15 seconds.
Remove the tile and either install it or stack it for future use. If stacking, stack with the tile surface facing up.
The holding clips provide even spacing of 4mm.
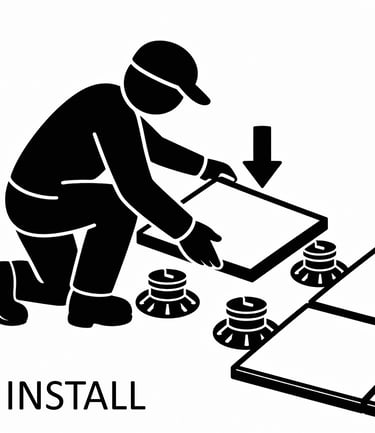
When installing, insert the holding clip into the centre of each recess with the round part facing up.
Position the adjoining tile so the clip is centred into the recess
Once installed, a tile can be removed with the use of a T1 square head screw bit.
Insert the T1 bit into the hole in the spacer section
Twist the holding clip 90 degrees to remove it.
Repeat for all holding clips
Lift tile.
To replace a tile
Place the tile into position
Insert the holding club into the space between tiles, lining it up with the recess
Twist the clip 90 degrees to lock it into place.
SafePave®- SSS-E is board and tape combination that consists of a 16mm PET core with fibreglass skins. The core has been cut to accept specially designed spacer clips that provide wind uplift protection by combining the weight of the entire raised floor. The board also provides thermal and acoustic insulation and anti-vibration characteristics. This board can be used with tiles from 12mm thick.
It is essential the tile is clean, dry and dust free prior to application of the board. Test a small section first as some tiles may require sealing to ensure adhesion.
"SafePave® Structural Support - Elite (SSS-E)"
Sales and Showroom
Clever Building Products
64 Nuwarra road,
Moorebank, NSW, 2170
0425 288 812
info@safepave.com.au
By Appointment only
Products
Resources
Legal
SafePave Tools and Accessories
Suppliers